
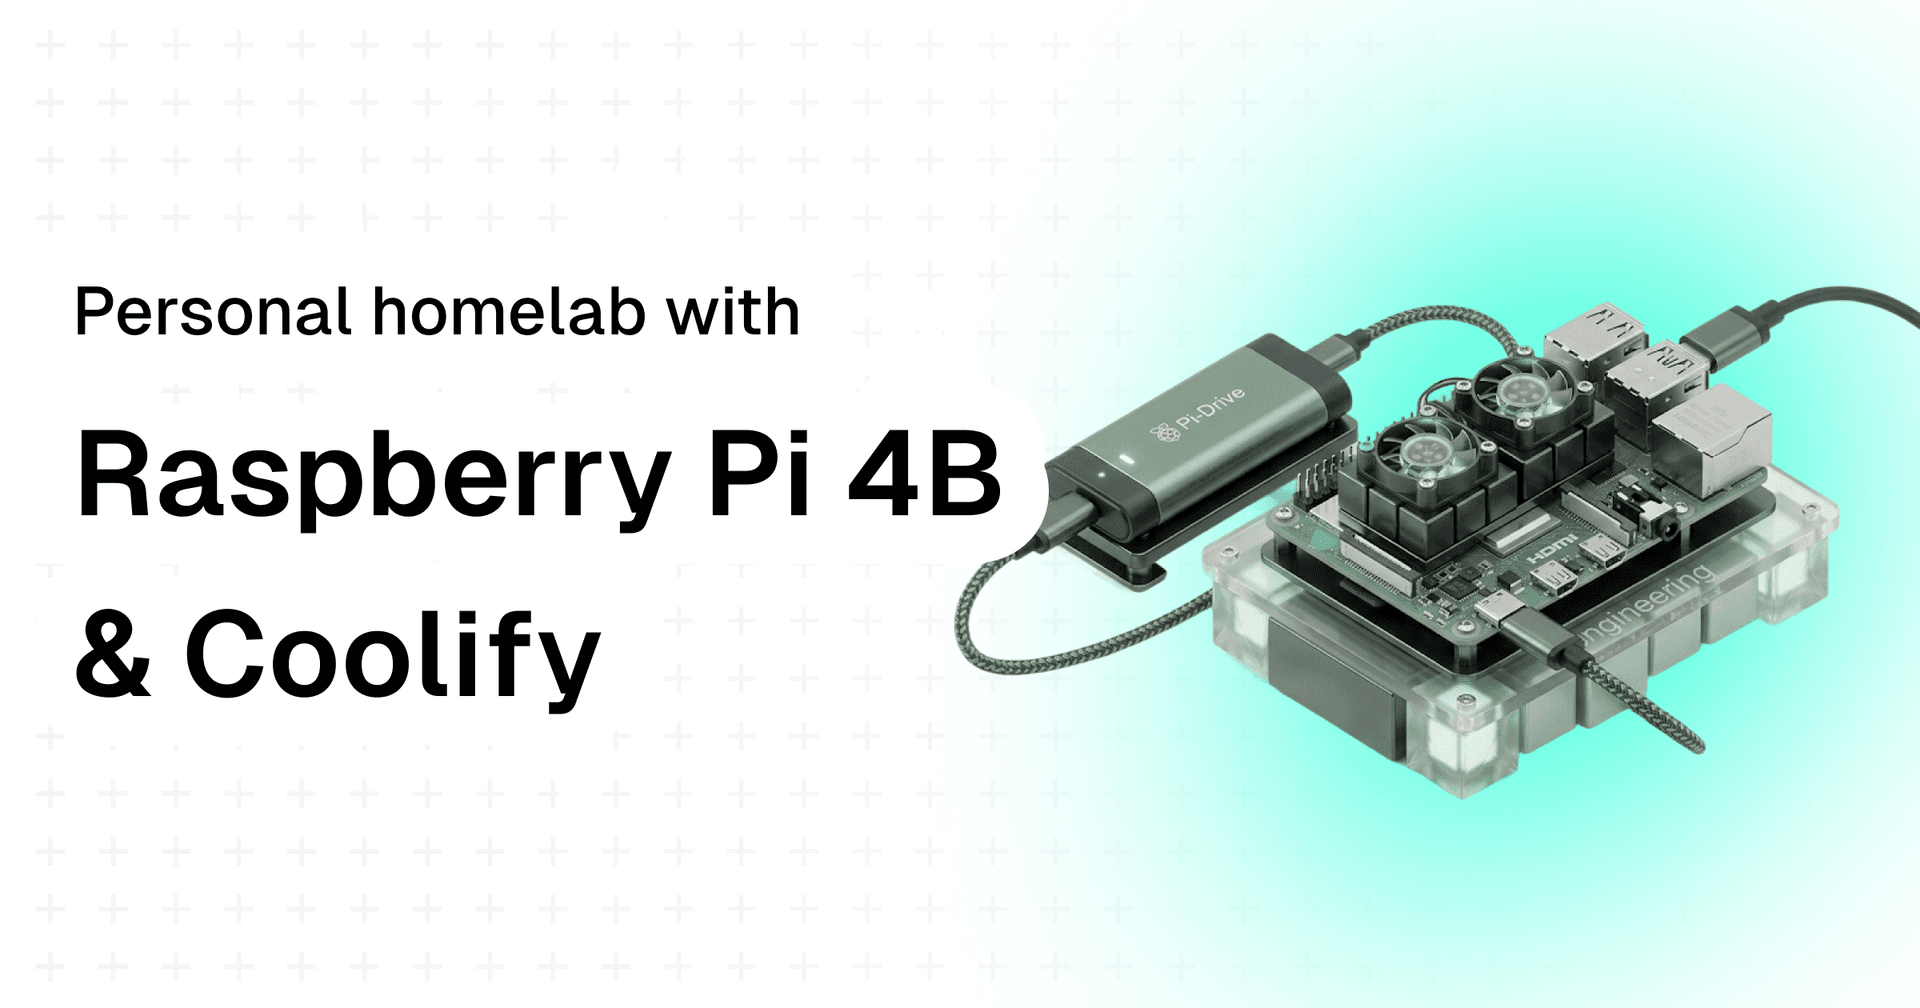
The Ultimate Guide to Building a Bulletproof RaspberryPi (RPi) Homelab in 2026: From Zero to Coolify
A comprehensive guide to transforming a Raspberry Pi into a professional-grade server using Ubuntu Server, Coolify, and Cloudflare Tunnels.
TL;DR
- Use a Raspberry Pi 4B with Ubuntu Server 24.04 LTS (64-bit) — not Raspberry Pi OS
- Boot from high-endurance SD card, store all data on an ext4-formatted external SSD
- Install Coolify (open-source Heroku/Vercel alternative) to manage Docker containers via a web dashboard
- Use Cloudflare Tunnels for secure remote access — no port forwarding needed
- Deploy Nextcloud (personal cloud) and Pi-hole (network ad-blocker) as your first services
Introduction: The Deceptive Simplicity of the Homelab
If you browse r/homelab or technical YouTube channels, setting up a personal server looks deceptively simple. The narrative usually goes like this: Buy a $50 Raspberry Pi, flash an SD card, type docker run, and suddenly you have a personal cloud that rivals Google Drive, a media server that shames Netflix, and an ad-blocker that sanitizes your entire network.
I am here to tell you that this narrative is a half-truth.
In reality, building a stable, secure, and production-ready homelab is a serious systems engineering exercise. It is a journey that will force you to grapple with Linux file permissions, container networking, DNS resolution conflicts, reverse proxies, SSL certificates, and hardware limitations you didn't even know existed. It is not just about installing software; it is about architecting a micro-environment that can survive reboots, power outages, and the internet's constant background radiation of security threats.
This guide is not a quick tutorial. It is a comprehensive documentation of a real-world build. We are going to take a Raspberry Pi 4 Model B and transform it into a professional-grade server using Ubuntu Server, Coolify (an open-source Heroku alternative), and Cloudflare Tunnels.
We will bypass the common pitfalls—like the "exFAT filesystem trap" and the "Port 53 DNS conflict"—that usually cause beginners to rage-quit. By the end of this article, you won't just have a server; you will have a deep understanding of how modern infrastructure works.
Part 1: The Hardware Reality Check
Before we write a single line of code, we must address the physical reality of the hardware. The Raspberry Pi was originally designed for education, not for running enterprise-grade container orchestration systems. To make it reliable, we have to mitigate its inherent weaknesses.
1. The Processor: Raspberry Pi 4B vs. Raspberry Pi 5
As of 2025, the Raspberry Pi 5 is the shiny new toy. It offers PCIe lanes (for NVMe SSDs) and a significantly faster CPU. However, the Raspberry Pi 4 Model B (specifically the 4GB or 8GB RAM variants) remains the workhorse of the homelab community.
Why stick with the Pi 4?
- Availability & Cost: It is cheaper and easier to find.
- Power Efficiency: The Pi 5 is power-hungry, often requiring a specialized 27W PD power supply. The Pi 4 sips power, making it easier to run off standard USB-C bricks (though you shouldn't just use any brick—more on that shortly).
- Thermal Output: While the Pi 4 gets hot, the Pi 5 gets hotter.
For this guide, we are focusing on the Raspberry Pi 4B, but 95% of these instructions apply directly to the Pi 5.
2. The "SD Card Killer" Problem
This is the number one reason homelabs fail after three months.
MicroSD cards are designed for sequential writes (like recording video from a camera). They are not designed for the random, constant read/write operations of a server operating system. A modern server logs everything. It writes to databases. It updates temporary files.
If you run a database-heavy application like Home Assistant or Nextcloud directly off a cheap SD card, you will burn out the card's write cycles. The system will start behaving erratically—services will crash for no reason, files will vanish—until it refuses to boot altogether.
The Solution:
- Boot: Use a high-endurance SD card (like the Samsung PRO Endurance) for the Operating System only.
- Data: Offload all heavy data (docker volumes, databases, media files) to an external SSD connected via USB 3.0.
3. The Silent Killer: Power Supply
Raspberry Pis do not have the complex power regulation circuits of a desktop motherboard. If your power supply drops from 5.1V to 4.8V under load, the Pi won't necessarily shut down. Instead, it will throttle the CPU or, worse, corrupt data being written to the disk.
If you see "Under-voltage detected" in your logs, your server is unstable. Always use the official Raspberry Pi power supply. Do not use a generic phone charger.
4. Thermal Throttling
The Broadcom chip on the Pi 4 generates significant heat. If the core temperature hits 80°C, the CPU creates a "thermal cliff," slashing its speed to prevent damage.
If we are running Coolify (which manages Docker builds and databases), the CPU will work hard. A passive aluminum case is the bare minimum. A case with an active fan (like the Argon ONE or the official Pi case fan) is highly recommended. Stability is cool; heat is the enemy.
Part 2: The Operating System Decision
This is where many tutorials lead you astray. They tell you to install "Raspberry Pi OS" (formerly Raspbian). For a beginner learning Python? Sure. For a server running Docker containers? Absolutely not.
The Architecture Trap: 32-bit vs. 64-bit
For years, Raspberry Pi OS was a hybrid monster: it ran a 64-bit kernel but used a 32-bit userland (the layer where your apps run).
This creates a nightmare for Docker. When you try to pull a Docker image (like a Minecraft server or a specific database), Docker checks your architecture. If your OS reports "armv7" (32-bit) but the software only supports "arm64" (64-bit), the container will fail to start with cryptic errors like exec format error.
Furthermore, modern server software like Coolify strictly requires a 64-bit environment.
The Choice: Ubuntu Server 24.04 LTS (64-bit)
We are choosing Ubuntu Server.
- Pure 64-bit: No hybrid weirdness. It is standard
aarch64all the way down. - Server-First Mentality: It doesn't come with a desktop environment (GUI) pre-installed. This is good. A GUI wastes RAM and CPU cycles that belong to your services. We will manage this server "headless" (via the command line).
- Standardization: Ubuntu is the standard for Linux servers. If you encounter an error, the solution you find on StackOverflow for a generic Linux server will likely work on your Pi.
Step-by-Step: Flashing the OS Correctly
Do not try to be clever here. Use the standard tools.
- Download Raspberry Pi Imager: Get it from the official website.
- Select OS: Click "Choose OS" -> "Other General Purpose OS" -> "Ubuntu" -> Ubuntu Server 24.04 LTS (64-bit).
- The "Secret" Menu: Before you hit write, click the Gear Icon (or press Ctrl+Shift+X). This is the advanced settings menu.
- Hostname: Set this to
homelab. This lets you ping the server by name later. - Enable SSH: Check this box. Select "Use password authentication."
- Set Username and Password: I recommend
adminas the user. Pick a strong password. - Configure Wireless LAN: If you must use WiFi (Ethernet is far superior for a server), enter your credentials here.
- Hostname: Set this to
- Write: Flash the image to your SD card.
A Note on "The Near-Bricking Incident": In a previous iteration of my lab, I attempted to clone my running OS to a new drive using the dd command while the system was booted. This resulted in a corrupted filesystem, broken sudo permissions, and a locked SSH session. Lesson: Never attempt to overwrite the boot disk of a running operating system. Always perform backups and cloning offline.
Part 3: The Filesystem & Storage Setup
Once you insert the SD card and boot up, wait 5 minutes for the first initialization to complete. Then, SSH in:
ssh [email protected]
(If that doesn't work, check your router's DHCP client list to find the IP address, e.g., 192.168.1.50, and run ssh [email protected]).
The First Update
Never build on a shaky foundation. Update everything.
sudo apt update && sudo apt full-upgrade -y
sudo apt install htop curl git net-tools -y
The "exFAT Trap": A Crucial Warning
If you are attaching an external USB drive (and you should), you face a critical decision: How do you format it?
If you format it as exFAT or NTFS (so you can read it on Windows/Mac), you are setting yourself up for failure. Linux file permissions (chmod, chown) do not work on exFAT.
Here is why that matters: Database software (like MariaDB or Postgres, which Nextcloud uses) demands strict security. It requires that its database files are owned specifically by the database user. When the container starts, it tries to run chown (change owner) on the files. If the drive is exFAT, the OS says, "I can't do that, this filesystem doesn't support ownership." The database crashes. Your service fails. You spend 4 hours debugging logs that say "Operation not permitted."
The Solution: Format your dedicated server drive to ext4. Yes, this means you can't plug it into your Windows PC directly. That is the trade-off. You are building a server, not a portable hard drive.
Tutorial: Formatting and Mounting the Drive
- Identify the drive:
lsblk
Look for your USB drive. It is usually sda or sdb. Let's assume it is /dev/sda.
- Format to ext4 (DATA WILL BE LOST):
sudo mkfs.ext4 /dev/sda
- Get the UUID: Mounting by name (like
sda) is dangerous because if you plug in a second stick, the names might swap on reboot. We mount by UUID (Universally Unique Identifier).
sudo blkid
Copy the UUID string for /dev/sda (e.g., 1234-5678-abcd-efgh).
- Create the Mount Point:
sudo mkdir -p /mnt/data
- Edit fstab (The File System Table): This file tells Linux what drives to mount at boot.
sudo nano /etc/fstab
Add this line to the bottom:
UUID=YOUR-COPIED-UUID /mnt/data ext4 defaults,noatime 0 2
noatime: Improves performance by not writing a timestamp every time you read a file.
- Mount it:
sudo mount -a
If you get no errors, you are golden.
Part 4: The New Standard — Coolify (Docker Made Easy)
In the past, running a homelab meant writing complex docker-compose.yaml files, manually creating Docker networks, and setting up Nginx configuration files for reverse proxying.
Today, we use Coolify.
What is Coolify?
Coolify is an open-source, self-hosted alternative to Vercel, Netlify, and Heroku. It sits on top of Docker. It provides a beautiful web dashboard where you can simply click "Add Resource -> Nextcloud," and it handles the wiring, the database creation, and the proxy configuration automatically.
It is the "Automatic Transmission" for your server.
Prerequisite: Installing Docker Engine
Coolify needs Docker to run.
# Install Docker using the convenience script
curl -fsSL https://get.docker.com -o get-docker.sh
sudo sh get-docker.sh

# Add your user to the docker group (so you don't need 'sudo' for docker commands)
sudo usermod -aG docker $USER

# Switch to the new group
newgrp docker
Prerequisite: The "Resource Tax" (Swap Memory)
Coolify is a robust application. It runs several background services (a proxy, a database for itself, a task runner). On a 4GB Raspberry Pi, you might run out of RAM during heavy builds.
We need to increase the Swap File. Swap is "fake RAM" — it uses a chunk of your storage disk as overflow memory.
# Check current swap
free -h

# Disable current swap
sudo swapoff -a

# Create a 4GB swap file
sudo fallocate -l 4G /swapfile
sudo chmod 600 /swapfile
sudo mkswap /swapfile
sudo swapon /swapfile

# Make it permanent
echo '/swapfile none swap sw 0 0' | sudo tee -a /etc/fstab
Note: Using swap heavily wears down SD cards. This is another reason why booting from an SSD is preferred, or at least minimizing memory pressure.
Installing Coolify
Now, the magic command. This script installs Coolify and all its dependencies.
curl -fsSL https://cdn.coollabs.io/coolify/install.sh | bash
This process will take 10 to 20 minutes on a Pi 4. The CPU will pin at 100%. This is normal.
Once it finishes, it will display: "Coolify is ready! Visit http://<your-ip>:8000"
Open your browser and navigate to http://homelab.local:8000 (or your IP). Create your admin account. You now have a dashboard.
Part 5: Networking & Security (The Cloudflare Tunnel)
Historically, to access your server from outside your house, you had to do Port Forwarding. You would log into your router and tell it: "Send any traffic on port 80 to my Raspberry Pi."
Why Port Forwarding Sucks:
- Security Risk: You are punching a hole in your firewall. Bots scan port 80/443 constantly. If your server has a vulnerability, you will be hacked.
- ISP Blocking: Many ISPs block ports 80 and 443 for residential customers.
- CGNAT: Many modern ISPs (especially Starlink and mobile networks) use Carrier-Grade NAT. You don't even have a public IP address, so port forwarding is impossible.
The Solution: Cloudflare Tunnels. A Cloudflare Tunnel runs a small program (cloudflared) on your Pi. It makes an outbound connection to Cloudflare. It's like digging a secure tunnel from your house to a fortress. When you want to access your Nextcloud, you connect to the fortress (Cloudflare), and they send the data down the tunnel to you.
No open ports. No exposed IP address. Pure magic.
Setting up the Tunnel in Coolify
We will treat the Tunnel as just another Docker container managed by Coolify.
- Get a Domain: You need a domain name (e.g.,
myhomelab.com). You can buy one for cheap on Namecheap or Cloudflare. - Cloudflare Zero Trust: Sign up for a free Cloudflare account. Add your domain. Go to the Zero Trust Dashboard -> Networks -> Tunnels.
- Create a Tunnel: Click "Create a Tunnel." Name it
homelab. - Install Connector: Cloudflare will show you installation commands. Ignore them. Just copy the Token. It is a long string starting with
eyJhIjoi....
Now, back to Coolify:
- Go to Projects -> Default.
- Click + New -> Docker Compose.
- Paste this configuration:
services:
  cloudflared:
    image: cloudflare/cloudflared:latest
    container_name: cloudflared
    restart: unless-stopped
    command: tunnel run
    environment:
      - TUNNEL_TOKEN=PASTE_YOUR_TOKEN_HERE
- Replace
PASTE_YOUR_TOKEN_HEREwith your actual token. - Click Deploy.
In a few seconds, go back to the Cloudflare Dashboard. Your tunnel status should change to "Healthy".
Part 6: Deploying Services (The Meat and Potatoes)
Now we have the Hardware, the OS, the Manager (Coolify), and the Network (Tunnel). Let's deploy software.
Service 1: Nextcloud (Your Personal Google Drive)
Nextcloud is the holy grail of self-hosting. File sync, contacts, calendars, photos.
The Coolify Way:
- In Coolify, click + New -> Service.
- Search for Nextcloud. Click it.
- Configuration:
- Coolify will ask for a name. Call it
nextcloud. - Storage: By default, Docker stores data on the SD card. We need to fix this.
- In the Storages/Volumes section of the service config, you will see a mapping like
/var/lib/docker/volumes/...:/var/www/html. - Change the host path to point to your mounted drive:
/mnt/data/nextcloud:/var/www/html.
- Coolify will ask for a name. Call it
- Deploy: Click the button. Coolify will spin up a MariaDB database, a Redis cache (for speed), and the Nextcloud app, wiring them all together automatically.
Exposing it via Tunnel:
- Check which port Nextcloud is listening on in Coolify (usually port 80 internally).
- Go to Cloudflare Dashboard -> Tunnels -> Configure -> Public Hostnames.
- Add Public Hostname:
- Subdomain:
cloud.yourdomain.com - Service:
http://host.docker.internal:80(or the specific container IP provided by Coolify).
- Subdomain:
- Save.
Visit cloud.yourdomain.com. You should see the Nextcloud login screen. You now have a personal cloud accessible from anywhere in the world, secured by Cloudflare's edge network.
Service 2: Pi-hole (The Network Guardian)
Pi-hole blocks ads for every device on your network.
The Complexity: Pi-hole needs to listen on Port 53 to handle DNS requests. However, Ubuntu has a built-in service called systemd-resolved that also listens on Port 53. They will fight, and Pi-hole will lose.
The Fix: Before installing Pi-hole, run this on your Pi:
# Disable the Stub Listener
sudo sed -r -i.orig 's/#?DNSStubListener=yes/DNSStubListener=no/g' /etc/systemd/resolved.conf

# Reset resolv.conf symlink
sudo sh -c 'rm /etc/resolv.conf && ln -s /run/systemd/resolve/resolv.conf /etc/resolv.conf'

# Restart the service
sudo systemctl restart systemd-resolved
Now Port 53 is free.
Deploying in Coolify:
- Add Service -> Pi-hole.
- In configuration, ensure you expose the DNS ports (53 TCP/UDP) to the host network.
- Deploy.
- Important: Do not expose your Pi-hole admin interface to the public internet via Cloudflare Tunnel unless you add an extra layer of authentication (Cloudflare Access). You do not want strangers controlling your DNS.
To use Pi-hole, log into your home Router and change the DNS Server setting to the IP address of your Raspberry Pi.
Part 7: Maintenance, Backup, and Recovery
You have built a sophisticated machine. Now you must maintain it.
The "3-2-1" Backup Rule
A RAID array is not a backup. A sync is not a backup. If you delete a file in Nextcloud, it deletes from the disk. That is not a backup.
Strategy:
- Config Backup: Coolify has a backup feature for its own database. Enable it.
- Data Backup: Use a tool like Restic or a simple cron job to zip your
/mnt/datafolder and upload it to an S3 bucket (like AWS S3 or Backblaze B2) or push it to a completely different computer.
Simple Script Example:
#!/bin/bash
# A crude but effective backup script
tar -czvf /mnt/data/backup-$(date +%F).tar.gz /mnt/data/nextcloud
# Then use rclone to push this to Google Drive/Backblaze
rclone copy /mnt/data/backup-*.tar.gz remote:backups
Updates
- OS Updates: Run
sudo apt update && sudo apt upgradeonce a month. - Container Updates: In Coolify, you can simply click "Redeploy" on a service to pull the latest image and restart it.
Conclusion: The Zen of the Homelab
If you have followed this guide, you haven't just "set up a Pi." You have:
- Selected hardware with an understanding of electrical and thermal engineering.
- Navigated OS architecture constraints.
- Managed Linux filesystems and permissions like a sysadmin.
- Implemented a modern Container Orchestration platform (Coolify).
- Secured your network with an encrypted Tunnel.
This setup is robust. It uses ext4 to prevent corruption. It uses Cloudflare to prevent hacks. It uses Coolify to prevent configuration headaches.
Things will still break. You will wake up one day and find a container stopped. You will run out of disk space. You will mess up a config file. This is not failure; this is the hobby. Every error log is a lesson disguised as a nuisance.
Welcome to the homelab community. Happy hosting.
Disclaimer: This guide involves modifying system files and network configurations. Always backup your data before running these commands. I am not responsible if your toaster achieves sentience and joins a botnet.
Related reading from this blog:
- From Prompt to Production — The A to Z vs B through Y framework applies directly to infrastructure engineering
- What is a No-Code Platform in 2026 — Coolify is essentially a "no-code" approach to Docker orchestration
- Building a no-code RAG bot for Slack — Another example of combining tools to build real systems

Ashwat
Content strategist, marketer, and entrepreneur helping businesses grow through storytelling and systems thinking.